Chefs understand the benefits of being ready and having everything in its place before cooking, especially before a dinner service. There is a well-known French term for this — mise en place. The preparation, often hours or days in advance, ensures a successful outcome. The same is true for printing. Having everything in place ahead of time will streamline the design process and ensure a successful printed product. Follow these steps!
Step 1: Identify what to make.
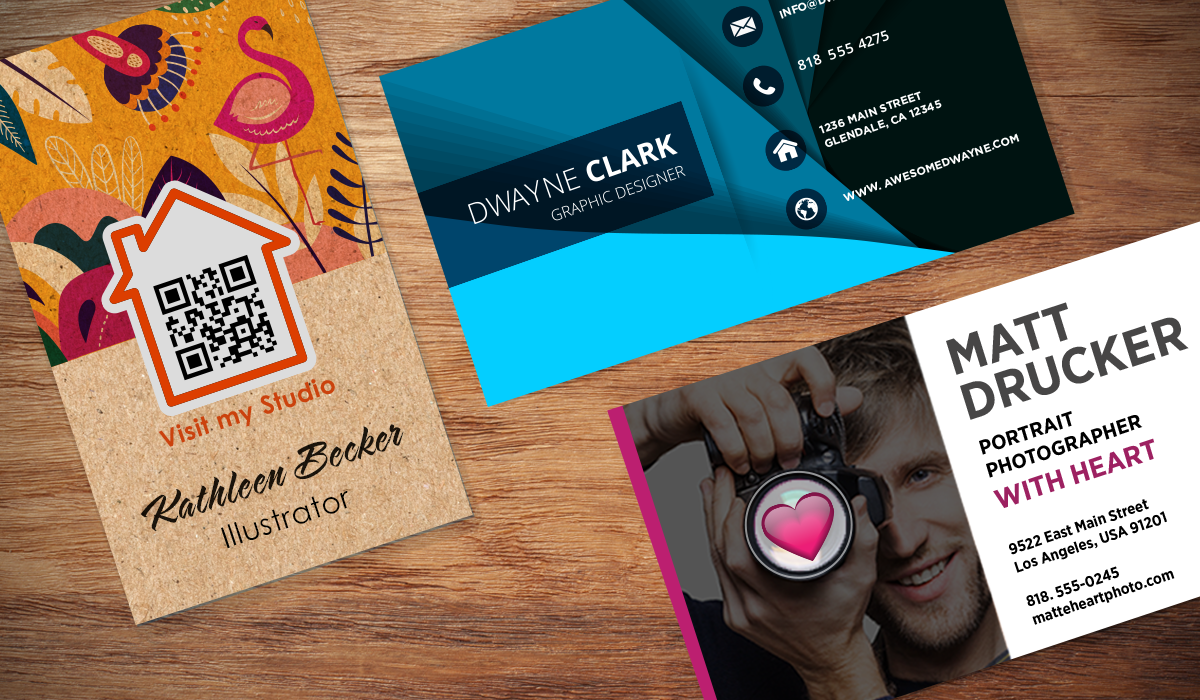
The first step is to understand the output requirements for the printed piece. Creating a design for a postcard is different than designing a billboard seen from a moving car. Billboards and banners require large, readable fonts, with images often printed at lower resolutions due to the viewing distance. Postcards and brochures need bold designs to create instant engagement, a strong call-to-action, and areas reserved for use by the postal service. Catalogs may need sealing tabs or envelopes to ensure delivery.
Help your clients understand the key design requirements between the many printed products offered through 4over. Understanding the form and function of your customer's business need, like increasing sales, helps ensure you recommend the correct products and print technologies to meet those goals.
Step 2: Build the ingredient list.
Now, it is time to assemble the ingredients for a winning design. Gather the fonts, images, illustrations, and all other design elements. Designers should work in the CMYK color space of their design tool. This will provide a more accurate preview of how the final printed
piece should look. Educate your client on any additional file preparation required for special embellishments and applications in the Majestic Products.
Step 3: Choose the right tools.
Designers often use a variety of tools. The toolkit may include a solution to create vector-based illustrations that can scale without losing print quality. Images require a different program for editing and enhancement. All images must be high-resolution based on the output size and print technology. A good rule is for the resolution to be at least 300 dots per inch (dpi) for analog and digital printing.
It is always essential to take care when increasing the size of any images, as this lowers the resolution and results in lower print quality. Vector-based artwork works well for larger print output like signage, so help your clients make the best choices for the intended product.
Step 4: Create the design.
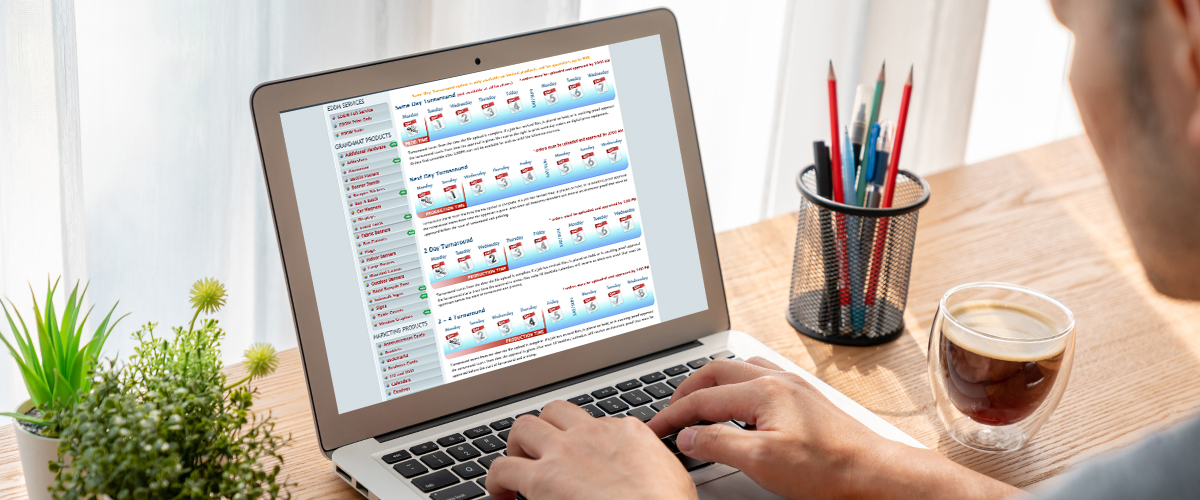
A design application is used to assemble pre-prepared design elements. Direct your customers to the 4over templates, which specify the product's dimensions, define the printable area for the design, and serve as a visual reminder for setting any bleeds that extend beyond the final trim size.
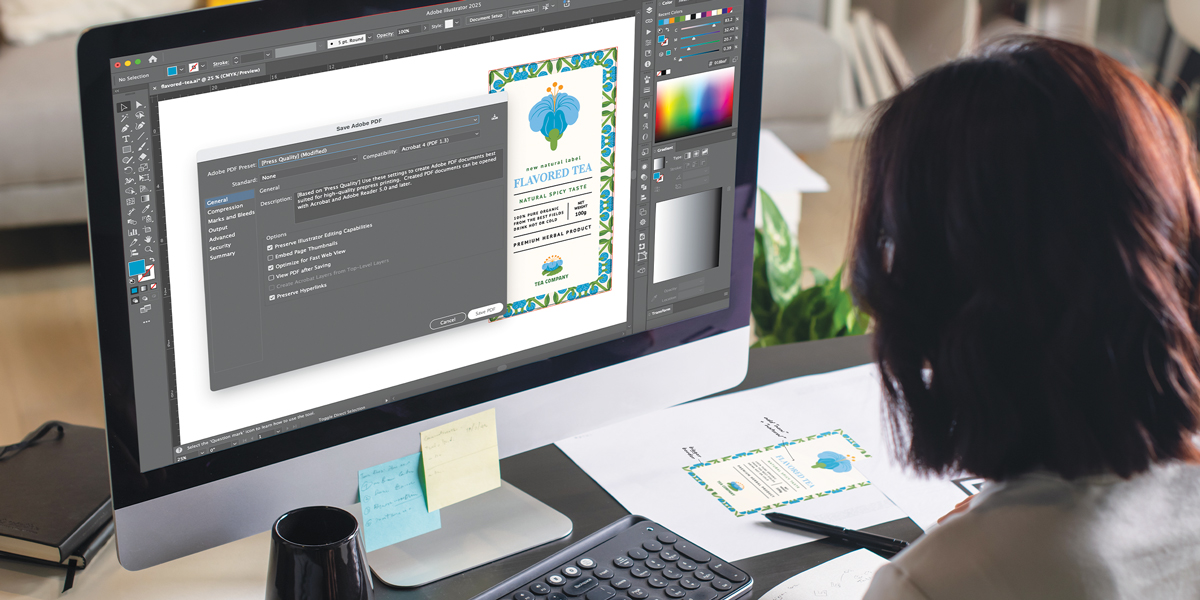
Step 5: Check the design and export to the best format for print.
Every designer should have a checklist review before submitting files for print. Common items to check for are colors and color spaces. In many cases, converting those colors to CMYK is appropriate. The image should be high-resolution based on the print, typically 300 dpi or higher. All images and fonts should be linked or embedded in the design file to ensure that the intended fonts are used in the printing process. This video from 4over walks through the essential file requirements.
Encourage your clients to use the built-in preflighting tools available in most design applications that will automate and check for the most common issues. Finally, export the file into the format requested, which is commonly a PDF file today, but EPS, JPG, and TIFF files may also be acceptable. For roll labels, 4over prefers EPS or PDF files, black that is 100% K instead of process or rich black. For text or lines smaller than 9pt, also use 100% K.
Follow these guidelines and your client’s work will fly through the shop! Ask your 4over team if you have any questions.